
Order Pool & Team Cockpit
A number of new configuration options were added, allowing you to further customize the look and feel of Team Cockpit and Order Pool.
Team Cockpit Settings
-
Main Header in Team Colour: You can change the visual appearance of the Team Cockpit by giving it specific colours. The background and text colours are set on the Teams record. You can e.g. decide to give every Team Cockpit a specific colour. Please note that you also need to check the box ‘Main Header in Team Color’ in the Team Cockpit settings.

-
The pill colour will also be based on the Team Colour, as in the example below.
-
Action button size: You can configure the size of the action buttons in Team Cockpit.
-
Pill size: You can configure the size of the pill in Team Cockpit.
-
Selected Operation Pill Name Field: When you select an operation in a Team Cockpit, a pill will appear. Via this setting you can define the field that is used to populate the pill, e.g. the operation name or the name of the production order.
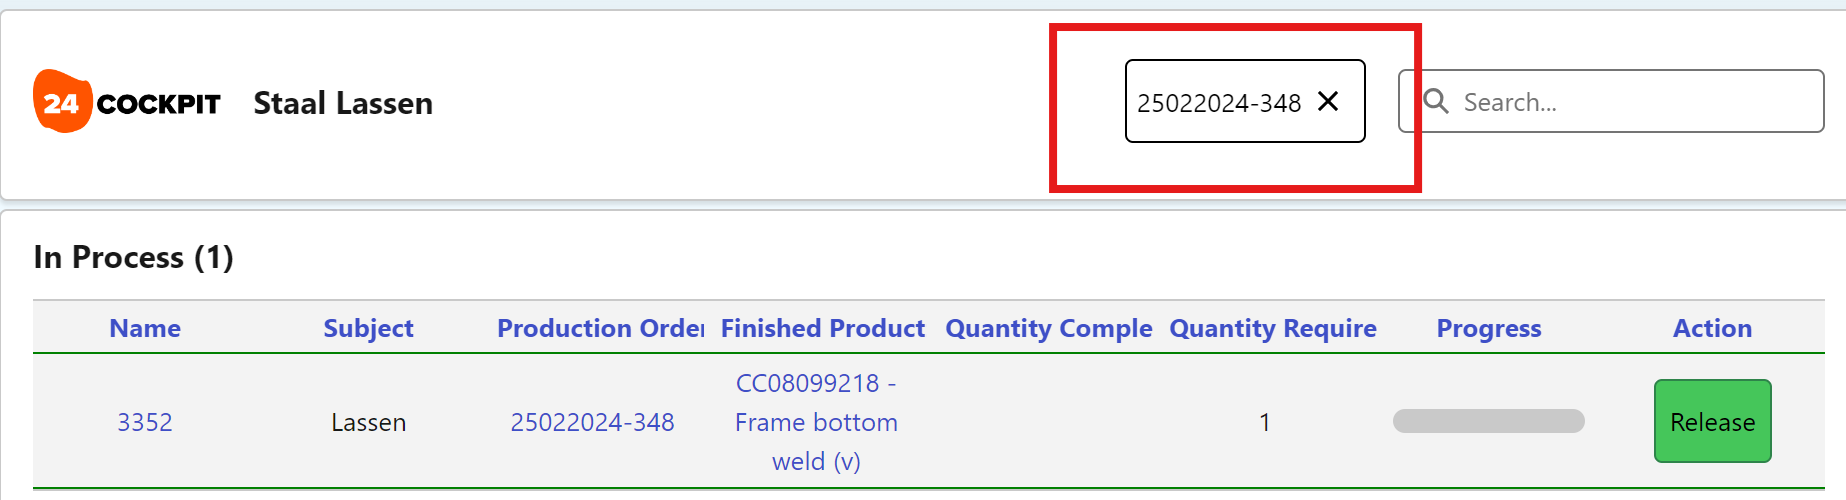
Maintaining context in the Team Cockpit URL
When you select an Operation in the Team Cockpit, the URL is updated to contain that selection. This context (Operation ID) can then be used when navigating between tabs.
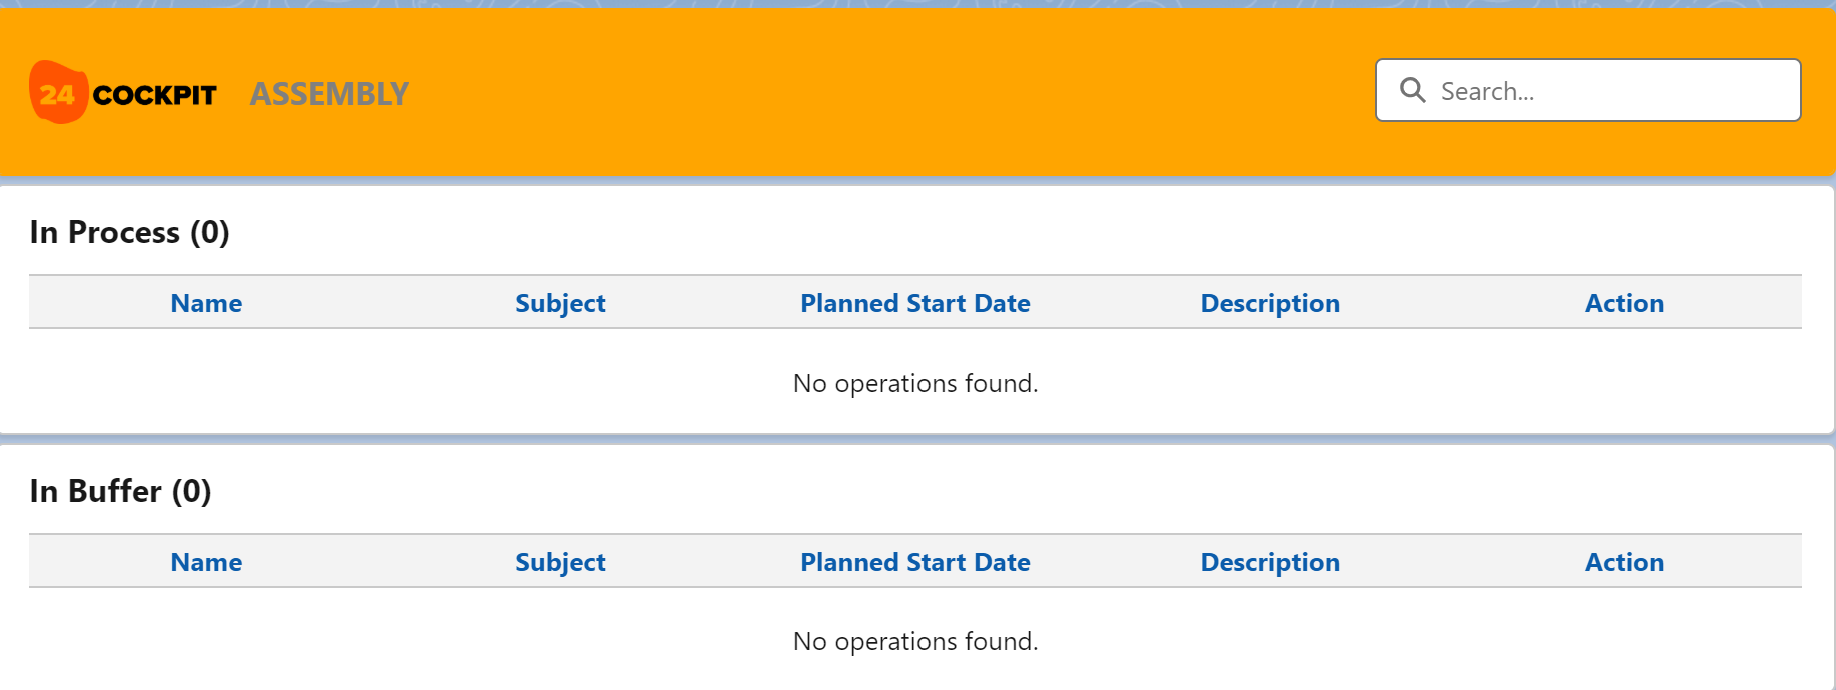
Setting the number of columns in Order Pool and Team Cockpit
The number of columns that can be shown in the Order Pool & in the Operation Routings and Operations sections of the Team Cockpit is by default set to 7. This ensures maximum readability and avoids an overload of information.
In case you would like to override these default setting, navigate to Setup > Custom Settings > 24Flow Settings and edit respectively:
-
the Order Pool Field Count parameter.
-
the Team Cockpit Field Count parameter.
24Planning
Customization of the View Presets
24Planning supports a number of view presets e.g. day, week, 2-weeks, month, etc. As from the Winter '25 release, it is now possible to change the configuration of these presets or even create new presets.
The main drivers for customizing the presets are:
-
Increase the ease-of-use for the planner e.g. configure presets that provide the right level of detail by adjusting the tick.
-
Change the granularity with which you can plan e.g. in case you would like to plan with a 5 or 10 minute granularity.
Configuring the presets is done via the Custom Metadata Types, please consult the 24Planning documentation here.
Choose the Unplanned Event Type
It depends on the context what an unplanned event actually means:
-
If your unplanned events are meetings and your resources are rooms, then usually the start and end time of the meetings are known but the resources is not.
-
If your unplanned events are production orders and your resource is the only machine on which that production order can be executed, then the resource for the unplanned event is known but you have flexibility in choosing the start and end time.
-
In some cases, only the duration of the unplanned event is determined upfront, and you can choose both the start and end date, as well as the resource.
The Unplanned Event Type accommodates these 3 scenarios, see here for the details. As an example if the Unplanned Event Type is Resource, you assign a resource to an unplanned event and you are unable to drop this event on an alternative date as the start and end date have been defined already.
BETA - Auto-Rescheduling of Events (Beta):
The auto-reschedule feature allows you to insert an event in between other events. The ‘neighbouring’ events are automatically rescheduled in order to make sure that they do not overlap with the inserted event.
This avoids a lot of manual rescheduling when inserting an event.
Note that the auto-rescheduling happens only when the View Preset, e.g. if you are working within a week view. Only the events within that week will be rescheduled.
24Checklist
Watch this video to get a quick overview of the new features, or browse through the list below.
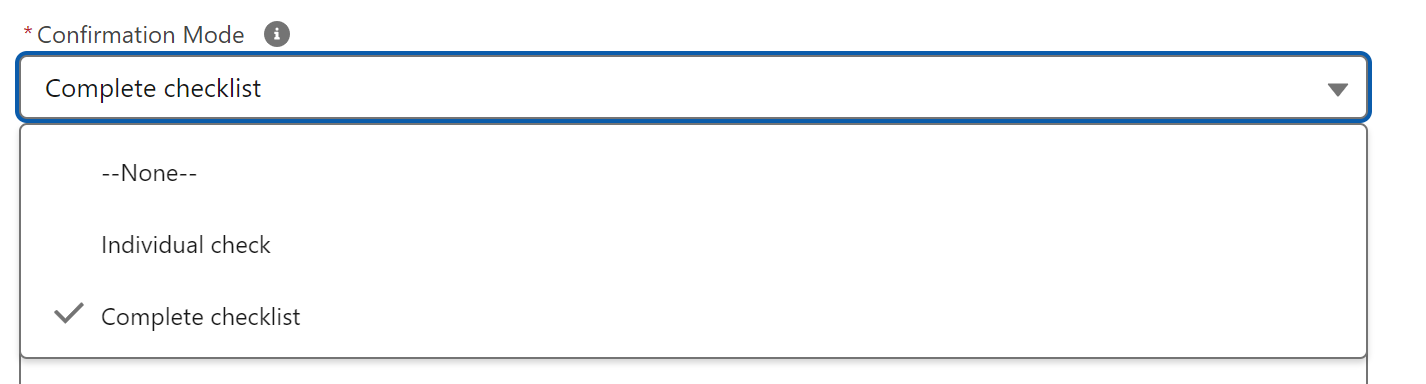
Checklist Confirmation Mode
It is now possible to choose a checklist confirmation mode as either ‘individual check’ or ‘complete checklist’. The complete checklist option allows you to first complete all checks and then confirm all checks at once. For long checklists, this can reduce the number of clicks considerably.
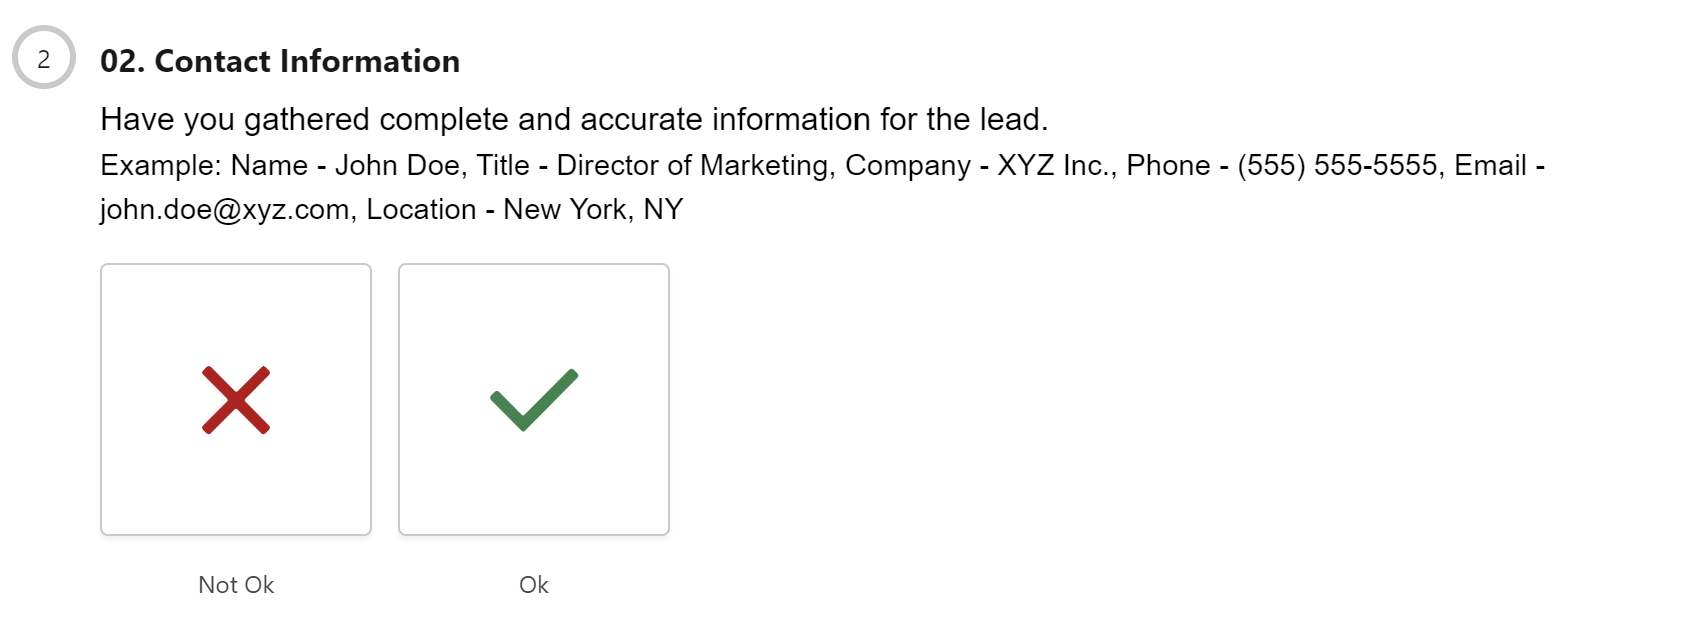
Alternative Visualization of Boolean Check
We have reworked the look-and-feel of the Boolean check.
It is no longer represented as a slider, see the screenshot below.
You now also have the option to mark the Boolean input as required in your check definition.
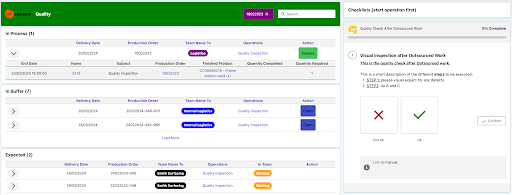
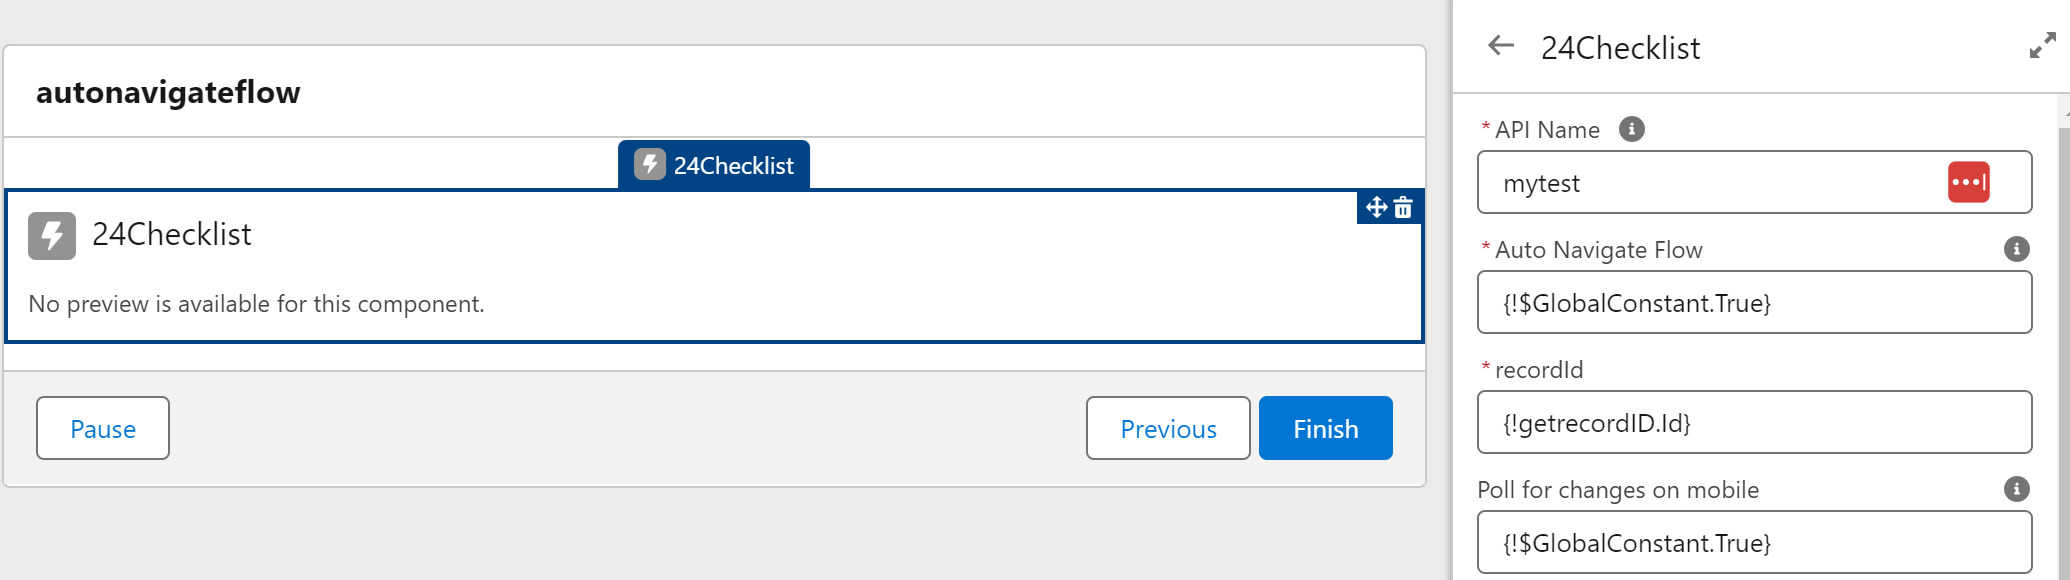
Screenflow Integration
It is now possible to integrated checklists in screenflows and show the checklists that are relevant to the recordID passed to the checklist component. Furthermore, we have extended 24Checklist with an Auto Navigate Flow option. When enabled, you can can auto-navigate to the next screen once all checks of the checklist have been confirmed.
Activate/deactivate Checklists
Via an activation/deactivation action button you can decide whether checklists should be visible to end-users. This allows you to retire older checklists: you can deactivate them without the need to remove them.
Publishing Checklists and Version Management
You can optionally enable checklist version management within your Salesforce environment.
When enabled, you explicitly publish checklists and checklists that are published cannot be edited anymore. Checklists are also versioned. If during the lifetime of a checklist, you want to change or update the checklist, a new version is created. You can still reference the older versions and hence also link checklist and check results to the correct version of the checklist.
As the version management has impact on the datamodel, please contact your 24Flow contact for advise on a data migration script.
24Files
Multi-lingual capabilities
24Files now allows you to customize the language of the end-user interface. The admin interface (i.e. the 24Files Manager app) remains English only. We now expose custom labels for which you can add custom translations.
More information can be found here in the documentation.
Enable/disable file & folder actions
In some cases, you may not want to expose all file and folder actions to your customers. As an example, you may not want to expose the ‘Share Public Link’ action to you end-users. 24Files now has more granular way to configure which actions to expose. These actions are defined on the component level. Please consult the documentation for more info.
In any case, 24Files inherits the authorization rules you have defined in SharePoint; e.g. if a user cannot navigate to a folder in SharePoint, they will not be able to do it via the 24Files interface either.
In addition, it is now also possible to disable the automatic generation of a folder structure in the background if it does not exist.
User-defined metadata
24Files allows you to let the end-user specify metadata for a file at the time of upload, via the Object Configuration in the 24Files manager app. From this release onwards, 24Files now also supports mandatory metadata and multi-select metadata. I.e. if you have defined the metadata as mandatory or multi-select in SharePoint, 24Files will automatically adopt this in the 24Files component.
Preview additional filetypes
We have reworked our preview capabilities and 24Files now supports SharePoint preview for additional filetypes such as .msg and .eml files.
New Apex actions
We have extended the set of Apex action available within 24Files, with a number of actions:
-
Get File Links: This new Apex action allows to retrieve the SharePoint link to multiple files in one call.
-
Delete Files: An Apex action that allow you to delete one or multiple files on SharePoint based on your automation flow.
-
Move Folders: Use this Apex action to move folders (and all of its subfolders and files) from one folder to another, within the same SharePoint site and Document Library. This Apex action can be used below the record folder level or at/above the folder record level. In the latter case, the folder structure will change and you need to reset the folder structure in order to keep access to files in the 24Files component.
-
Get Folder Path: This Apex action returns the path to the record folder for specific recordIds.
More information on the 24Files Flow, APEX and Platform Event support can be found here.
A quite common use case of the Move Folder Apex action is where you want to move the record folder during the lifetime of the record. This video explains how you can build that use case.
New Platform Events
24Files supports a new platform event that is launched when an async Apex action has finalized. In previous releases, an email was generated when the action finished folder structure has been created via an Apex action, now also a platform event is generated.
The platform event has the following attributes:
-
Path: path to to the record folder.
-
RecordID: the ID of the record for which Apex action was executed.
-
Status: Success or Failed
-
Type: the name of the Apex Action that raised the platform event.
Sub Releases
-
4.322
-
4.330
-
4.340
-
4.350
-
4.3.60
-
4.3.80