
Printing Agent - DEPRECATED
The 24Flow Printing Agent enables a connection between the cloud and your desktop connected printer. The 24Flow Printing Agent program needs to be installed on your desktop. Once installed you can connect it on the one hand to your 24Flow org, on the other hand to your local printer. The component is designed to be used in Flow, in this way you can trigger the printing of specific documents, in your desired context and to a desired printer.
Installation Guide for Windows
Download and Install Java JDK
Windows : https://corretto.aws/downloads/latest/amazon-corretto-21-x64-windows-jdk.msi
In case the links is broken visit this url : https://docs.aws.amazon.com/corretto/latest/corretto-21-ug/downloads-list.html and identify the latest package for Windows x64
Download 24Flow Agent
Windows download 24FlowAgent.exe.zip
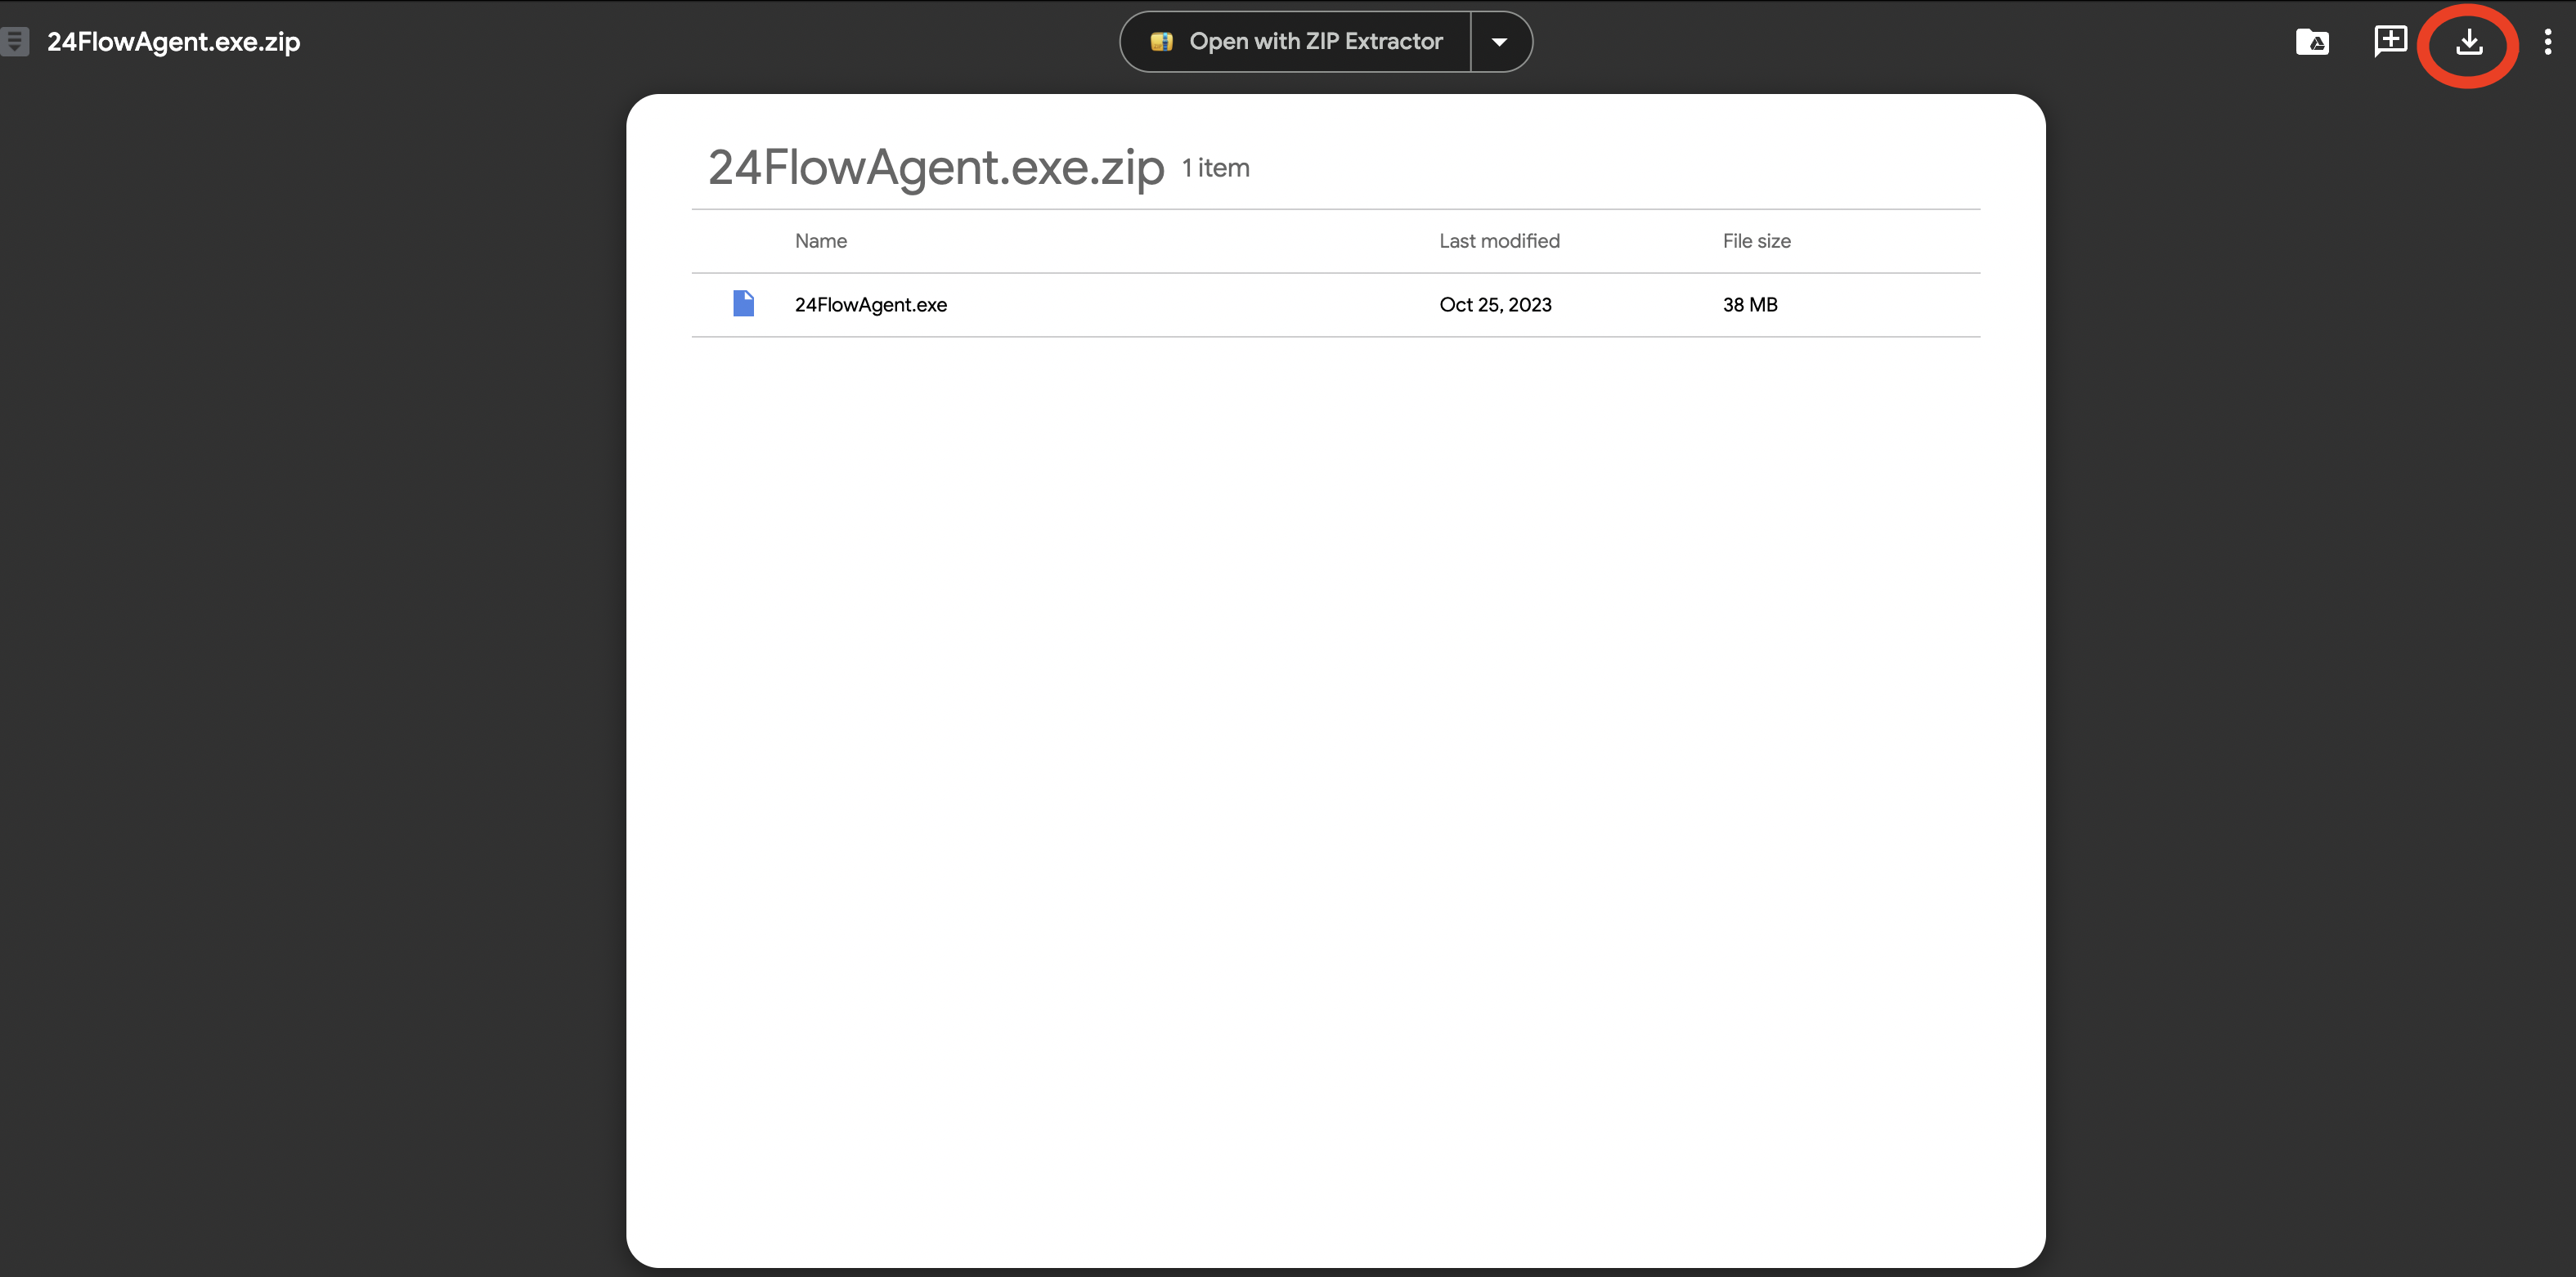
Click on the download icon on the top right to download the .zip file
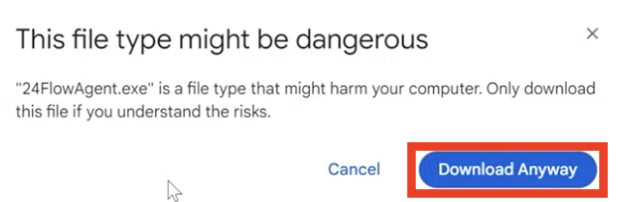
If the following message is displayed, click on “Download Anyway”
Create a shortcut of the Agent
Locate the .exe File:
Create the Shortcut:
Right-click on the .exe file.
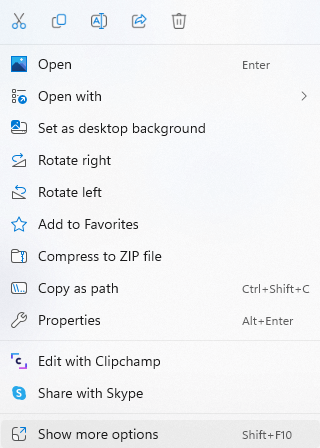
Click on “Show more options” - last option in the right-click pop-up
From the extended context menu, select “Create shortcut”.
A new shortcut will be created in the same folder with the name “<filename> - Shortcut”.
Move the Shortcut
Now we need to move the shortcut in the startup folder so it automatically starts up when the pc reboots.
Open Run command box by pressing the Windows logo + R keys. In the Run command field, type
shell: Startup and then press Enter key to open Startup folder.
Drag and drop the shortcut in the Startup folder
Reboot the pc
After rebooting the PC, the 24FlowAgent.exe should open automatically since we put that shortcut in the Startup folder.
Optional steps in case of not enough admin rights
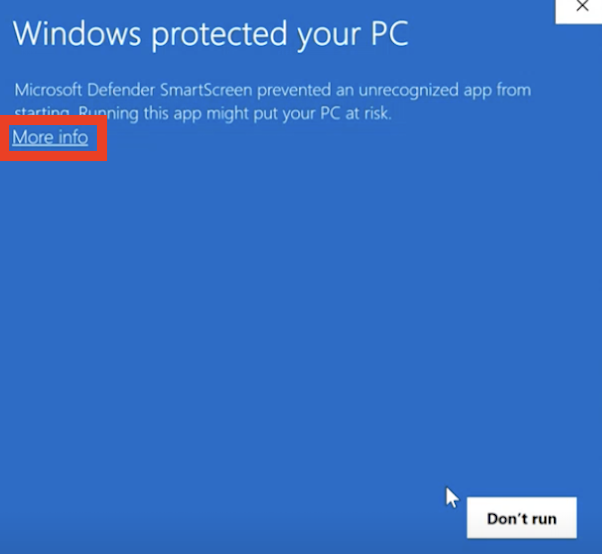
If the following message is displayed, click on “More info”
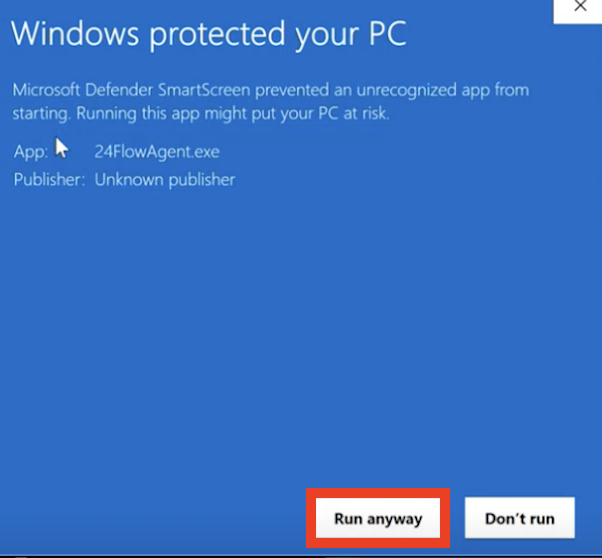
Click on “Run anyway”
Trust the application in the firewall
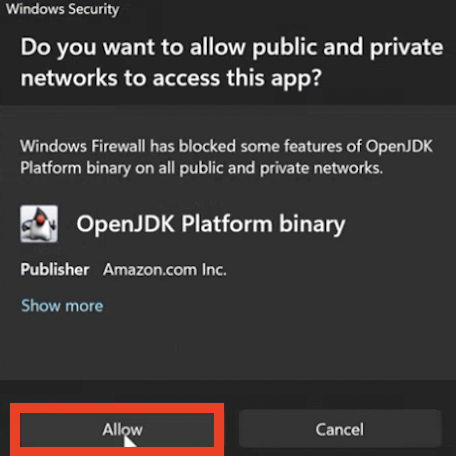
Allow the application in the firewall
After the reboot
The 24Flow Printing Agent will be launched
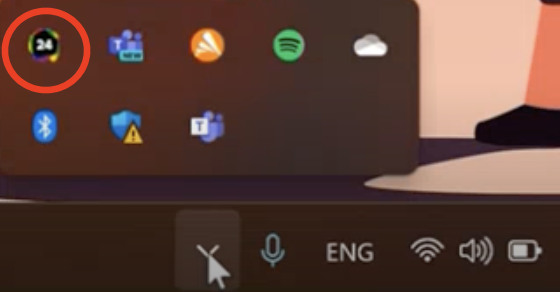
The active program is displayed in your taskba
Installation Guide for MAC
Download and Install Java JDK for MAC
Mac : https://corretto.aws/downloads/latest/amazon-corretto-21-x64-macos-jdk.pkg
In case the links is broken visit this url : https://docs.aws.amazon.com/corretto/latest/corretto-21-ug/downloads-list.html and identify the latest package for macOS x64
Download 24Flow Agent
Set Up Connection to Printer for Windows and MAC
General info
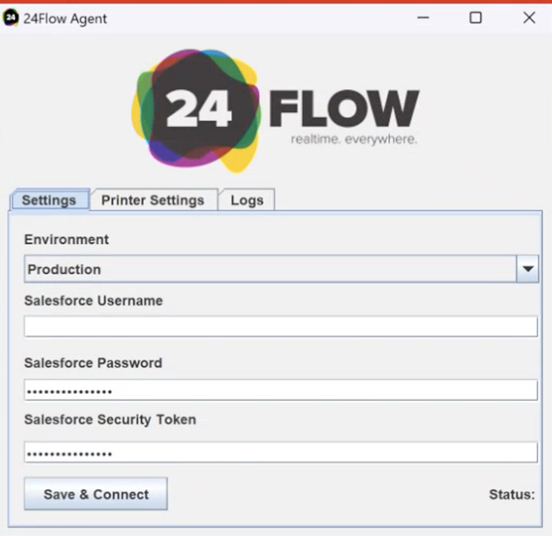
There are three sections:
Settings: Link the printing agent to your 24Flow org by entering your username, password and security token. Once filled in, click on Save & Connect. If the login was successful, the status field on the bottom right will show CONNECTED.
Printer Settings: Link the printing agent to your printer.
Logs: Displays an Error or Success message for each printing job.
Connect to 24Flow
When opening the printing agent, the following screen will pop up.
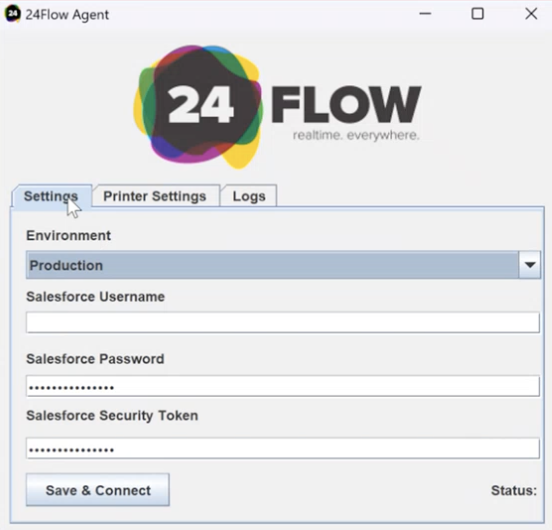
Select the right Environment ![]()
Enter the username, password and security token and hit save and connect
Trigger Printing Jobs via Flow
You can trigger in context files to be printed by using the Apex action “Print VisualForce PDF" in Flow. There is a demo flow, “Demo Print Agent”, available in your org to use as a reference.